 |
 |
|
|
 |
|
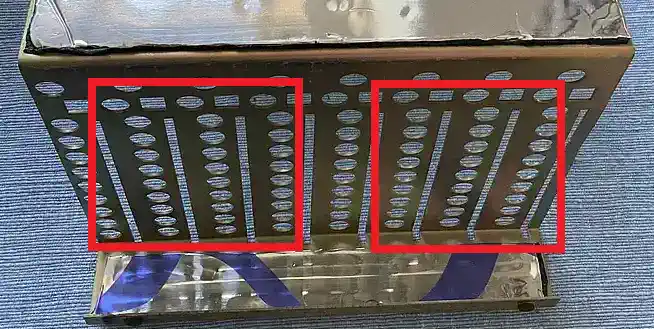
The PEB is noisy - no question... but why exactly is this so? Before dissecting the box (which I will not describe here, since there are many good explanations around on the net) you easily can detect the primary noise sources, as there are: The fan, the outer covers that rattle when you knock on them, and the perforated backplane with the holes enabling the cooling airflow. The backplane is untouchable - there must be a path to exchange the hot air. The lid is heavy and damped anyway - there is not much to gain. Result: new fans, and covering the metal parts in LOTS of aluminium butyl (affordable and fast from Aliexpress, at least when forwarding to germany didn't take months...)! And also the front cover needs examination - eventually this part of the box permanently faces towards the suffering user. Well then - just do it! - Oh yes: don't forget to click on the imgages to see them in their (nearly) original size. | |||
The side panels | |||
|
If you take your knuckle and knock on of the side panels of your PEB, the rattle is signifcant. Putting a decent amount of aluminium butyl here would surely improve the sound... The images to the top left show the right hand side of the PEB, the floppy disk compartment. Here you cannot attach damping material to the front and the top (because of the disk drive's upper mounting zone), but to the side and to the rear you are lucky, since everything is vibrating, should there be any mechanical action within the box. Right and below - see the hole for the power switch - the side where the power supply is located. Also here the vibration of the housing is what should be eliminated. The final image gives you an impression, at which places you may place this sticky stuff... |

| ||
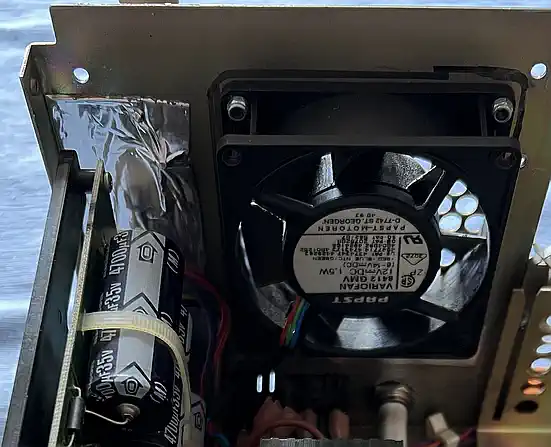
The fan, and its (future) friends... | |||
|
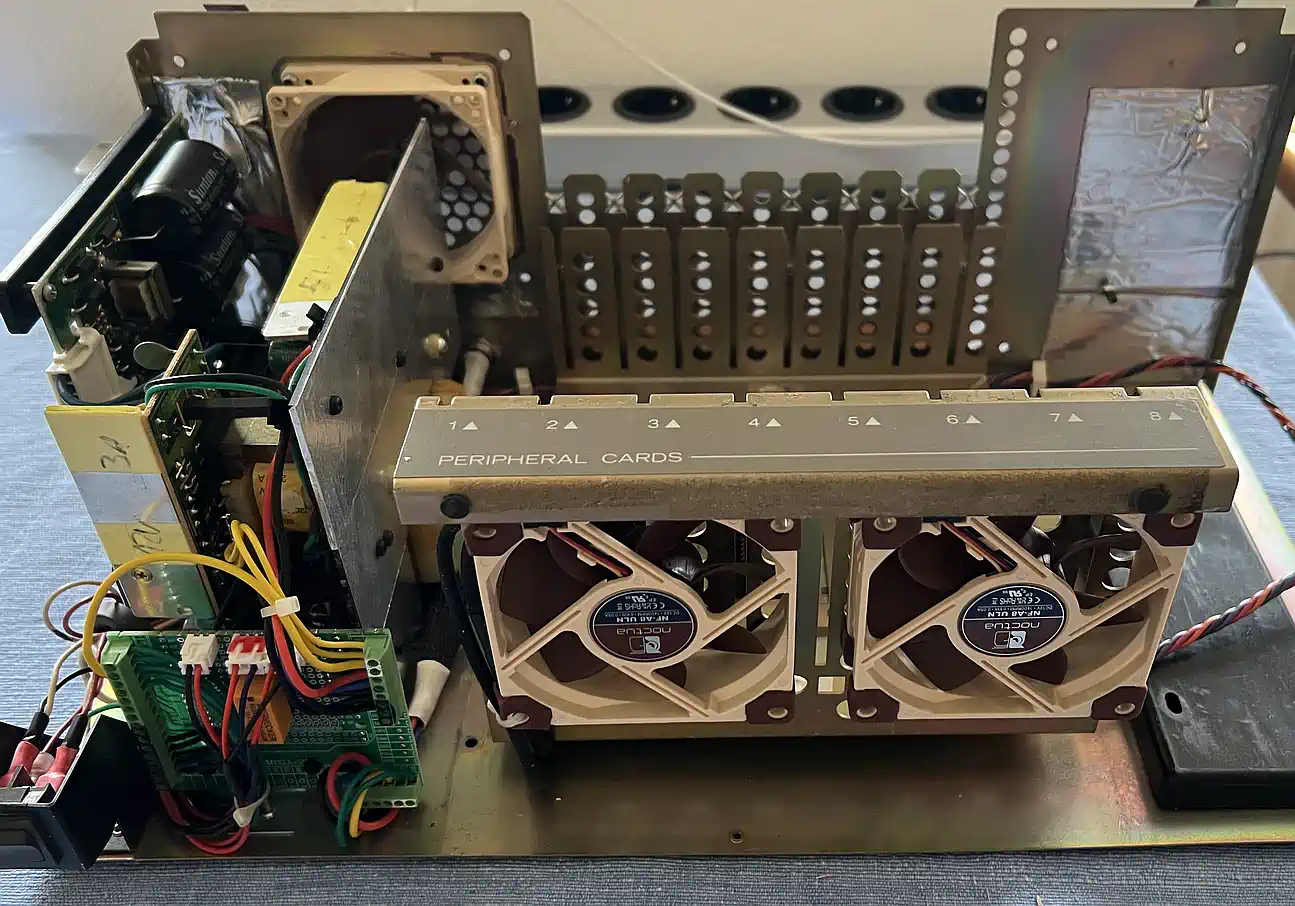
What first comes to your mind when you think about the PEB's noise, surely is the fan - but it's not THAT simple! The engineers at TI were smart - the concept of the PEB ensures stable operation during longer continuous phases of usage, and you have to observe a sufficient air exchange through each of the maximum 8 cards of the PEB. Plus: since "silent" fans always pay off their lower noise with a much lower airflow, you will encounter several problems during the long run when using "No Noise" fans, that may show off very late. In addition, a free-blowing fan is always much quieter than if it has to work against aerodynamic resistance in the installed state. In short, a fan alone makes the PEB quiet, but also too warm. And that's where his friends come in... I first saw the idea at Ralf Schmitz' - better known as Schmitzi - in realization, but it was already theoretically clear beforehand that it had to go in this direction. In place of the two red boxes, there will be quiet 80mm fans of the "No Noise" class on the inner cage, which blow in the same direction as the fan in the power supply, i.e. support it and do not work against it. This probably ensures the exchange of air in the additional cards, which are getting quite warm. (And if I may say something about the unspeakable 9640: this planned source of fire in the PEB should benefit the most from it - if you get involved in such a thing as a tradition- and quality-conscious originalist.) |
| ||
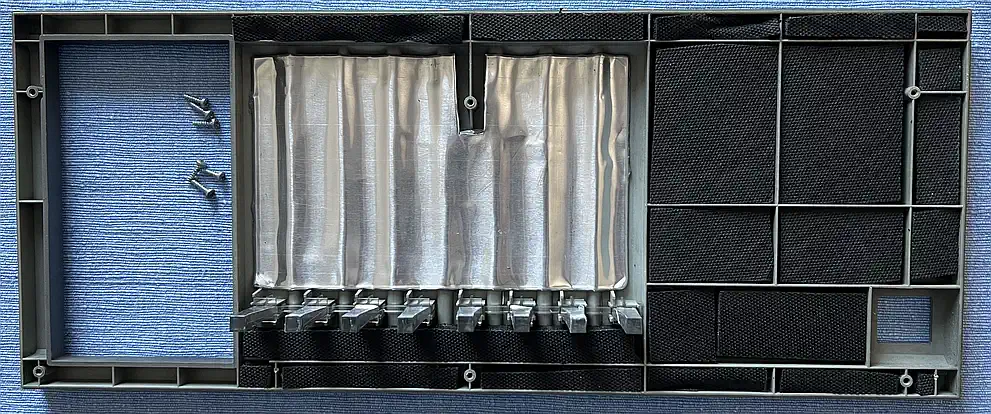
The front panel | |||
|
That was definitely the trickiest thing about this project.
There are actually only sufficient areas for the alubutyl above the light guides, the rest was filled with insulation boards intended for PC cases, where only the heavy, bitumen-like carrier material and less the foam layer actually provides the noise insulation.
Every acoustician knows that mass is that which significantly insulates structure-borne sound. But if you have already dismantled the thing so far, then also add some self-adhesive aluminum foil to the light guides - then it will be brighter in the front... They are very easy to unclip. |

| ||
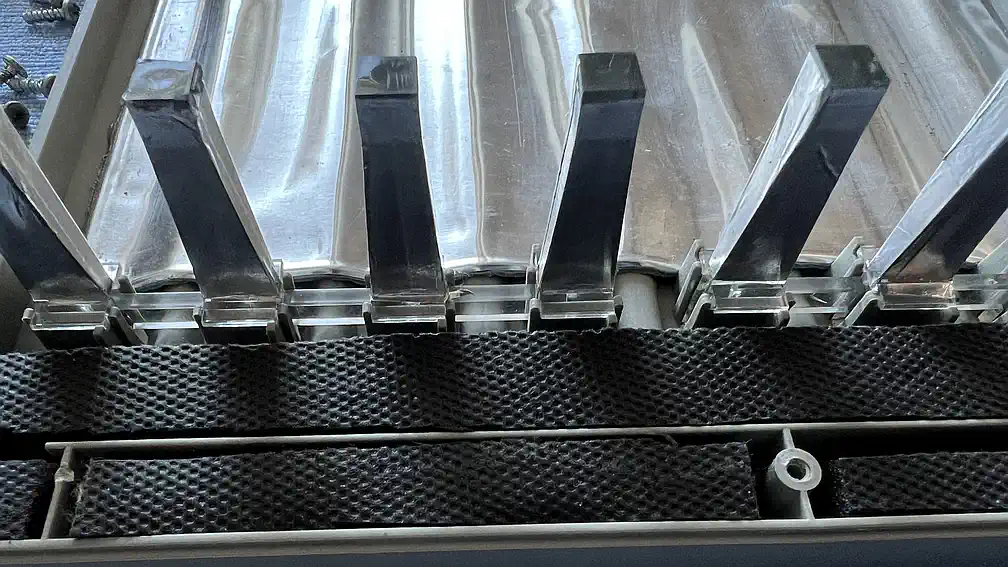
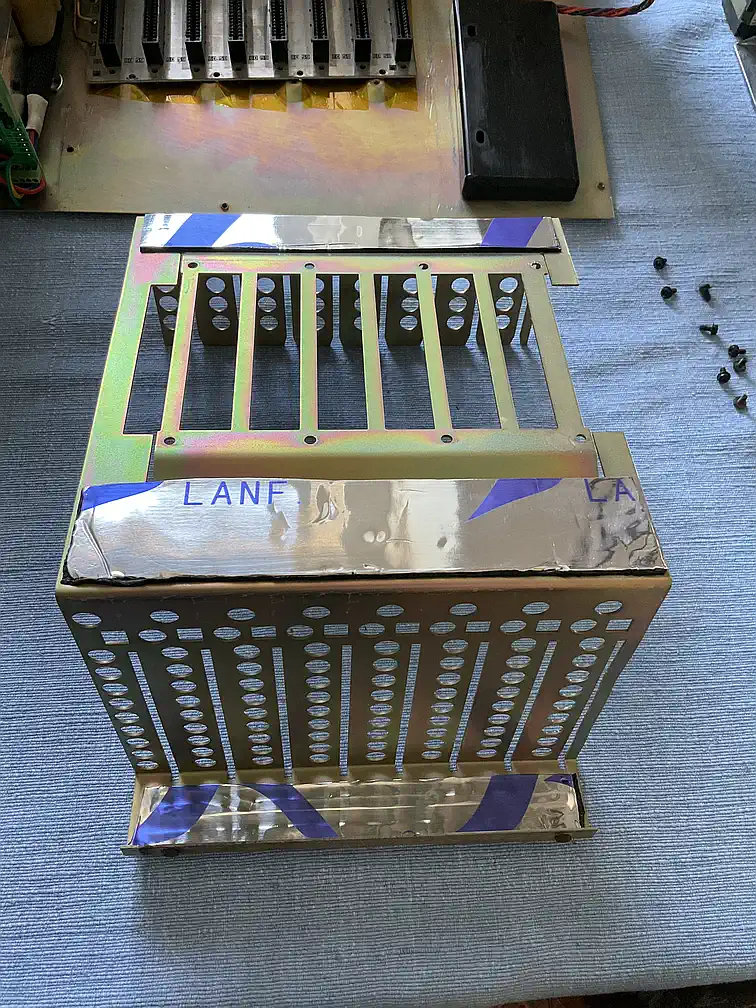
The inner frame | |||
|
The space for the expansion cards does not pass the "rattle test" - so Alubutyl must also be on it. The picture should provide sufficient clues. In my case, it was still important to bend the side facing forward a bit in this direction, so that the buffer discs visible at the bottom exert some pressure on the front panel when mounting the case to prevent rattling - the pressure generated by the expansion cards is usually not sufficient here. The extra fans have already been discussed above. |
| ||
Bycatch | |||
|
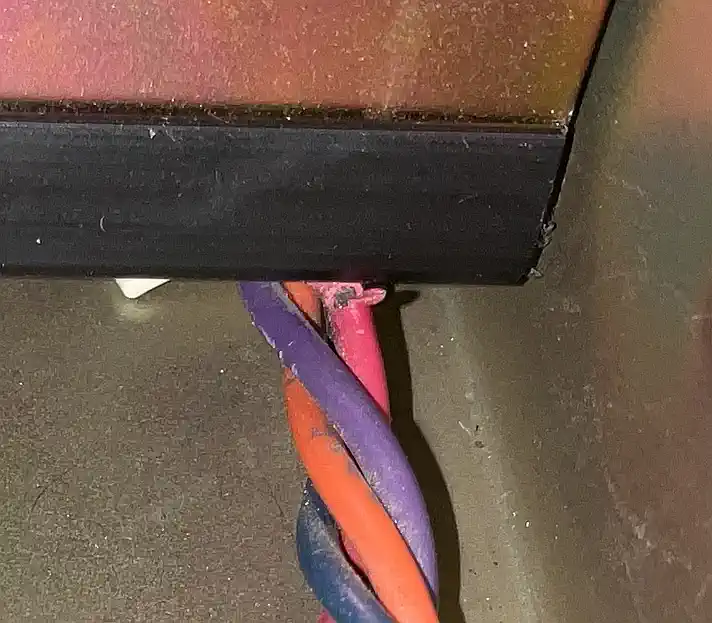
After the box was completely disassembled, my eye fell on the cable of the power supply for the floppies. You quickly realize that one design criterion definitely played NO role in the conception of the PEB: the avoidance of sharp edges! And there are at least 2 of them that are more than annoying. Where the floppy supply is led out of the power supply, the insulation of the cable was defective! That was isolated, and the sharp edge was defused. Exactly the same where it goes into the floppy compartment, only no insulation had been eaten away there yet. And there was also a sharp edge with the data cable to the floppies - problem recognized, danger averted! |
| ||
Paranoia | |||
|
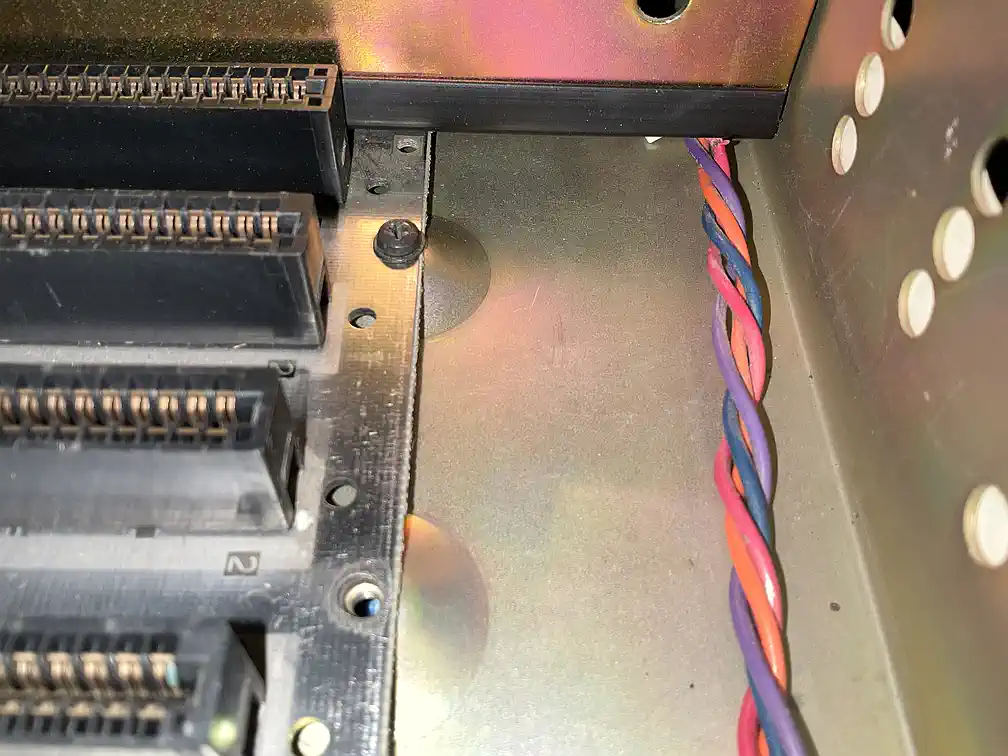
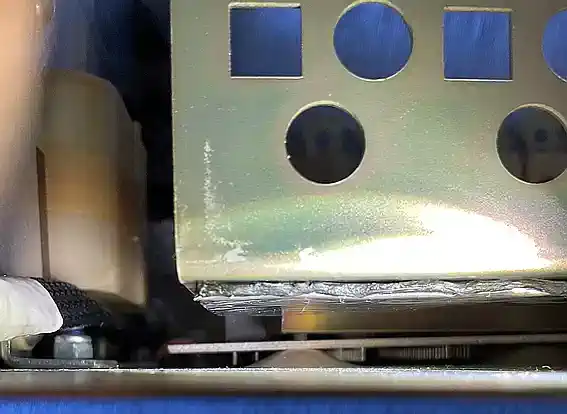
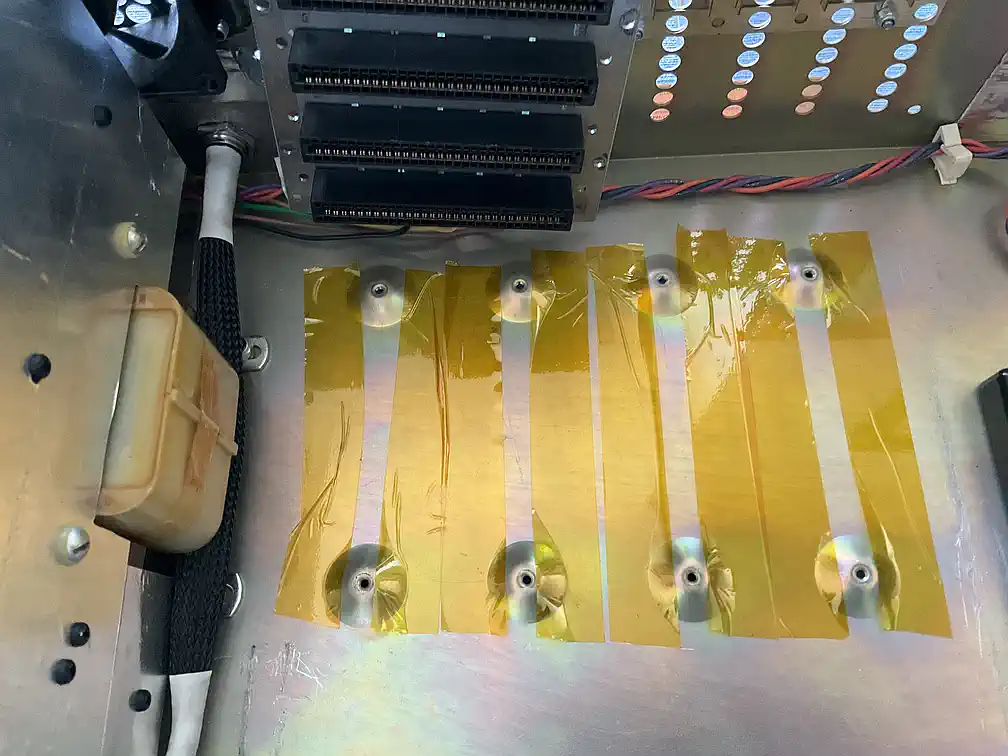
When installing the card cage, my eye fell on the space between the base plate and the bus board. Wait a minute - isn't it a bit too tight with the distance between the connector pins and the attachment point? And if the earth shakes now, is there a short one? Well, now it was me who called the TI engineers fools... after mounting various Kapton strips it was clear to see that I had been fooled by the perspective - the pins are close, but far behind the round domes in which the screws sit... grmpfff. |
| ||
Conclusion - or: everything is different | |||
|
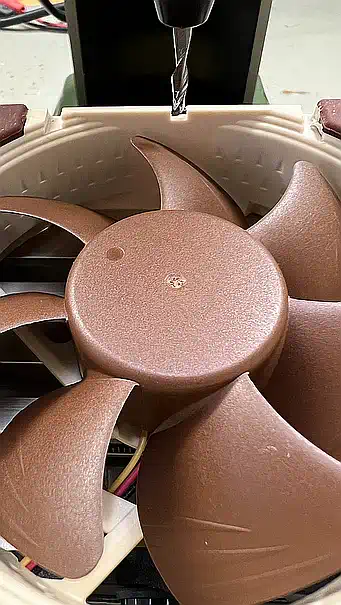
After the assembly then the disillusionment: Still too loud! So I disassembled everything again, ordered three new Noctua NF-8A ULNs, took out the Papst 8412L and replaced it with a Noctua, and installed the 2 other NF-8A ULN in the front... If only it were that easy... but it wasn't! Of course, new wiring was needed, and the holes in the front perforated wall not only had the right distance to accommodate the fans, but the original silicone snivels can be used for fastening... but the fans had to be mounted flat on the sheet metal, and thus protruded into the slot over which the expansion cards are led at the front! So they had to be milled in, but this required that the bars point forward, otherwise the motor will fall off when they are nibbled! As a result, the airflow had to be reversed again, so that it now sucks in again via the cards and blows out through the power supply. Actually, I wanted to do it the other way around, because it makes the opening through which dust is sucked in the smallest, but well... The milling groove in the fan must be 3mm wide and about 2mm deep - the position is best marked when installed. Then the MF 70 started and milled off nicely - done. For your information: The original PEB cards have a rail that protrudes about 3mm, the thickness of the perforated plate is about 1mm, so there are 2mm that have to go. The front fans only run when the PEB is on, the rear one always runs as soon as the power plug is plugged in. The rear fan is directly connected to 12V, the front ones have 50 ohms in the supply line, and there is no noticeable difference when the box is turned on, except for the slightly increasing airflow - as it is now, the transformer at idle drowns out all 3 fans, and there is still enough air coming out! BY THE WAY: The Noctua NF-A8 ULN, which I bought almost exactly 8 years ago, sounded somehow louder than the new ones - strange... The reason: no - no bearing damage - it simply rotates about 30 percent faster and thus moves significantly more air! In my opinion, a new product name would be quite appropriate. |


| ||
| Contact: {anyname}@{use_the_url}.net |
All pictures on this whole website were made by myself. Should you find them elsewhere, they're stolen from here! |
Last updated: 2025-10-22 CW |